-
앱 개발 입문 수강 기록 9일 차_2023-02-28Study 2023. 2. 28. 22:31
강좌명
CH02_01. 앱 기능 및 디자인 설계 및 초기 구조 만들기 (Todo앱)
앱 디자인
- 오늘 할 일(TODO)를 기록할 수 있음
- 완료/미완료 표시할 수 있음
- 이전 기록을 확인할 수 있음
- 카테고리를 설정할 수 있음
- 기존 기록을 앱 내부 저장소에 보관할 수 있음
- 타겟층 - 10, 20대 학생 및 직장인
데이터 설계
할 일을 작성할 때 필요한 데이터 설계
- 할 일의 제목
- 할 일의 날짜
- 할 일의 완료 여부
- 할 일의 카테고리
- 할 일의 메모
화면 설계
- 할 일 메인 화면
- 할 일을 표시(수정 / 삭제) 할 수 있는 페이지
- 할 일 작성 화면
- 할 일 작성 페이지 (제목, 내용, 색상, 카테고리)
- 기록 화면
- 이전 기록을 확인하는 페이지
- 더보기 화면
- 카테고리 추가 등 다른 기능을 하는 페이지
코드
- 일단 어제 설정했던 부분에서 문제를 일으켜서 main.dart에서 const / super 부분을 수정함
- 수정 전
import 'package:flutter/material.dart'; void main() { runApp(const MyApp()); } class MyApp extends StatelessWidget { const MyApp({super.key}); // This widget is the root of your application. @override Widget build(BuildContext context) { return MaterialApp( title: 'Flutter Demo', theme: ThemeData( // This is the theme of your application. // // Try running your application with "flutter run". You'll see the // application has a blue toolbar. Then, without quitting the app, try // changing the primarySwatch below to Colors.green and then invoke // "hot reload" (press "r" in the console where you ran "flutter run", // or simply save your changes to "hot reload" in a Flutter IDE). // Notice that the counter didn't reset back to zero; the application // is not restarted. primarySwatch: Colors.blue, ), home: const MyHomePage(title: 'Flutter Demo Home Page'), ); } } class MyHomePage extends StatefulWidget { // const MyHomePage({super.key, required this.title}); const MyHomePage({super.key, this.title}); // This widget is the home page of your application. It is stateful, meaning // that it has a State object (defined below) that contains fields that affect // how it looks. // This class is the configuration for the state. It holds the values (in this // case the title) provided by the parent (in this case the App widget) and // used by the build method of the State. Fields in a Widget subclass are // always marked "final". final String title; @override State<MyHomePage> createState() => _MyHomePageState(); } class _MyHomePageState extends State<MyHomePage> { int _counter = 0; void _incrementCounter() { setState(() { // This call to setState tells the Flutter framework that something has // changed in this State, which causes it to rerun the build method below // so that the display can reflect the updated values. If we changed // _counter without calling setState(), then the build method would not be // called again, and so nothing would appear to happen. _counter++; }); } @override Widget build(BuildContext context) { // This method is rerun every time setState is called, for instance as done // by the _incrementCounter method above. // // The Flutter framework has been optimized to make rerunning build methods // fast, so that you can just rebuild anything that needs updating rather // than having to individually change instances of widgets. return Scaffold( appBar: AppBar( // Here we take the value from the MyHomePage object that was created by // the App.build method, and use it to set our appbar title. title: Text(widget.title), ), body: Center( // Center is a layout widget. It takes a single child and positions it // in the middle of the parent. child: Column( // Column is also a layout widget. It takes a list of children and // arranges them vertically. By default, it sizes itself to fit its // children horizontally, and tries to be as tall as its parent. // // Invoke "debug painting" (press "p" in the console, choose the // "Toggle Debug Paint" action from the Flutter Inspector in Android // Studio, or the "Toggle Debug Paint" command in Visual Studio Code) // to see the wireframe for each widget. // // Column has various properties to control how it sizes itself and // how it positions its children. Here we use mainAxisAlignment to // center the children vertically; the main axis here is the vertical // axis because Columns are vertical (the cross axis would be // horizontal). mainAxisAlignment: MainAxisAlignment.center, children: <Widget>[ const Text( 'You have pushed the button this many times:', ), Text( '$_counter', style: Theme.of(context).textTheme.headlineMedium, ), ], ), ), floatingActionButton: FloatingActionButton( onPressed: _incrementCounter, tooltip: 'Increment', child: const Icon(Icons.add), ), // This trailing comma makes auto-formatting nicer for build methods. ); } }- 수정 후
- line 4: const 삭제
- line 8: 주석 처리
- line 34: super를 Key로 변경, 마지막에 : super(key: key) 추가
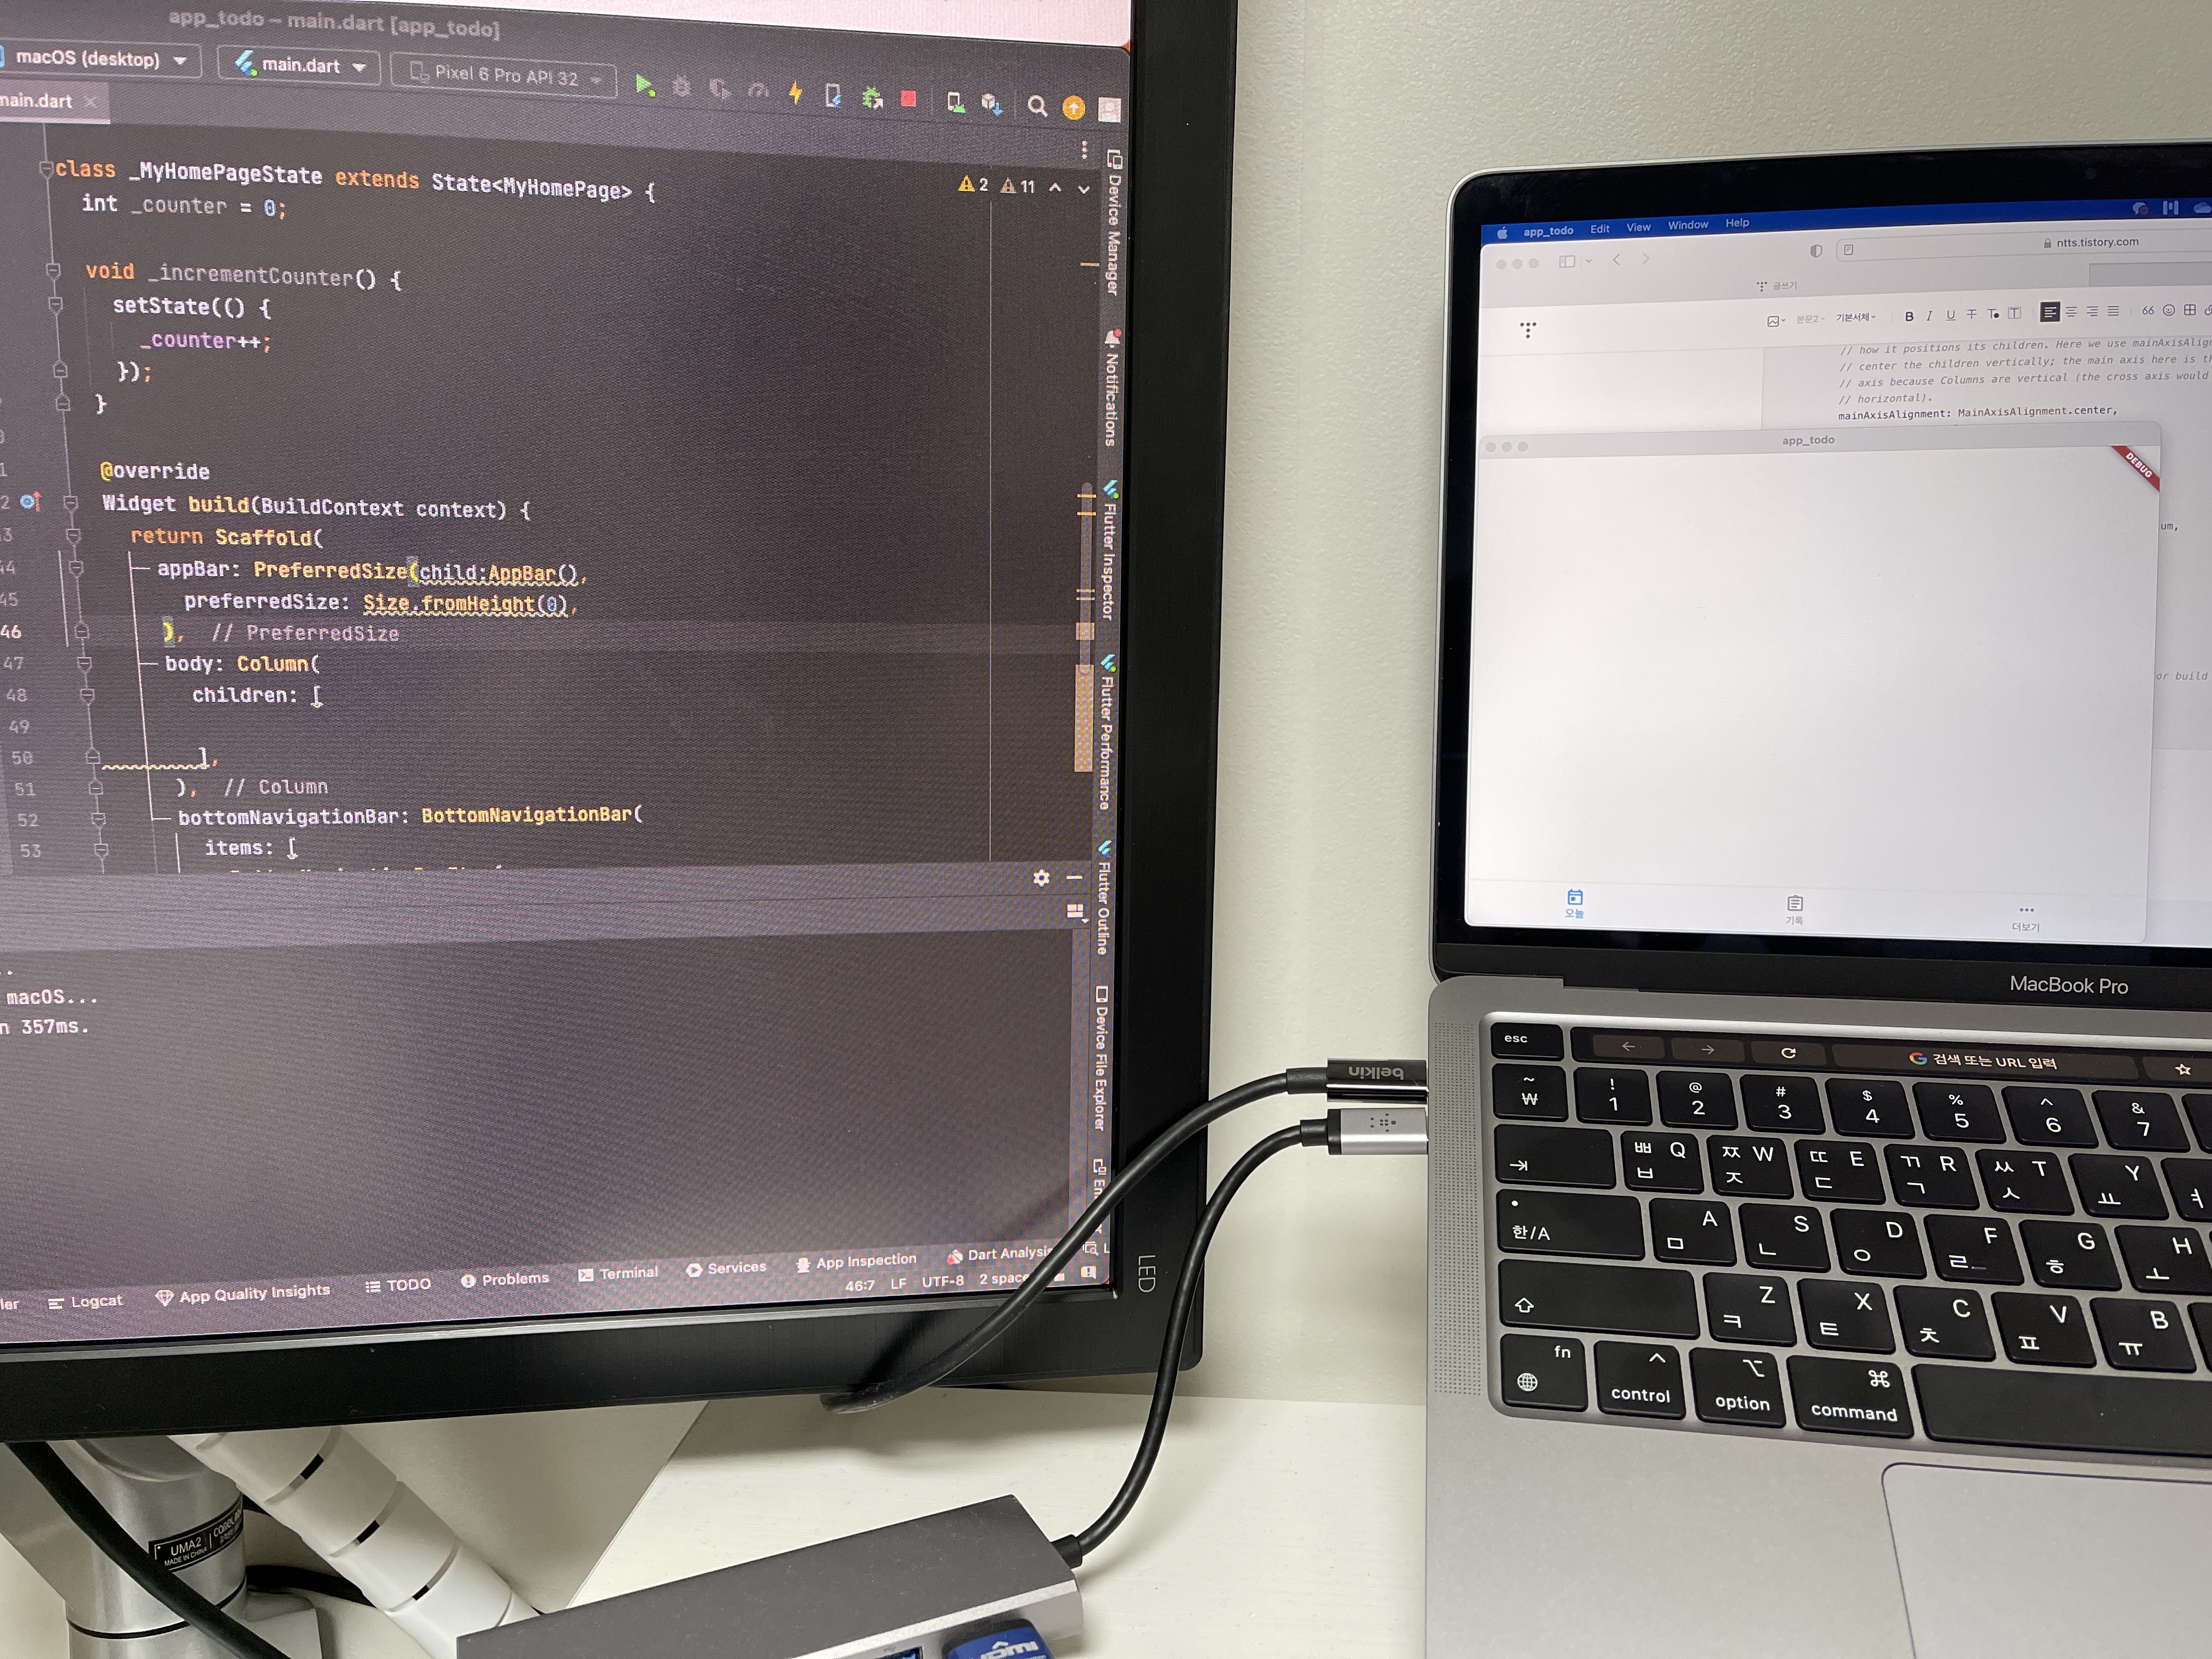
import 'package:flutter/material.dart'; void main() { runApp(MyApp()); } class MyApp extends StatelessWidget { // const MyApp({super.key}); // This widget is the root of your application. @override Widget build(BuildContext context) { return MaterialApp( title: 'Flutter Demo', theme: ThemeData( // This is the theme of your application. // // Try running your application with "flutter run". You'll see the // application has a blue toolbar. Then, without quitting the app, try // changing the primarySwatch below to Colors.green and then invoke // "hot reload" (press "r" in the console where you ran "flutter run", // or simply save your changes to "hot reload" in a Flutter IDE). // Notice that the counter didn't reset back to zero; the application // is not restarted. primarySwatch: Colors.blue, ), home: const MyHomePage(title: 'Flutter Demo Home Page'), ); } } class MyHomePage extends StatefulWidget { // const MyHomePage({super.key, required this.title}); const MyHomePage({Key key, this.title}) : super(key: key); // This widget is the home page of your application. It is stateful, meaning // that it has a State object (defined below) that contains fields that affect // how it looks. // This class is the configuration for the state. It holds the values (in this // case the title) provided by the parent (in this case the App widget) and // used by the build method of the State. Fields in a Widget subclass are // always marked "final". final String title; @override State<MyHomePage> createState() => _MyHomePageState(); } class _MyHomePageState extends State<MyHomePage> { int _counter = 0; void _incrementCounter() { setState(() { // This call to setState tells the Flutter framework that something has // changed in this State, which causes it to rerun the build method below // so that the display can reflect the updated values. If we changed // _counter without calling setState(), then the build method would not be // called again, and so nothing would appear to happen. _counter++; }); } @override Widget build(BuildContext context) { // This method is rerun every time setState is called, for instance as done // by the _incrementCounter method above. // // The Flutter framework has been optimized to make rerunning build methods // fast, so that you can just rebuild anything that needs updating rather // than having to individually change instances of widgets. return Scaffold( appBar: AppBar( // Here we take the value from the MyHomePage object that was created by // the App.build method, and use it to set our appbar title. title: Text(widget.title), ), body: Center( // Center is a layout widget. It takes a single child and positions it // in the middle of the parent. child: Column( // Column is also a layout widget. It takes a list of children and // arranges them vertically. By default, it sizes itself to fit its // children horizontally, and tries to be as tall as its parent. // // Invoke "debug painting" (press "p" in the console, choose the // "Toggle Debug Paint" action from the Flutter Inspector in Android // Studio, or the "Toggle Debug Paint" command in Visual Studio Code) // to see the wireframe for each widget. // // Column has various properties to control how it sizes itself and // how it positions its children. Here we use mainAxisAlignment to // center the children vertically; the main axis here is the vertical // axis because Columns are vertical (the cross axis would be // horizontal). mainAxisAlignment: MainAxisAlignment.center, children: <Widget>[ const Text( 'You have pushed the button this many times:', ), Text( '$_counter', style: Theme.of(context).textTheme.headlineMedium, ), ], ), ), floatingActionButton: FloatingActionButton( onPressed: _incrementCounter, tooltip: 'Increment', child: const Icon(Icons.add), ), // This trailing comma makes auto-formatting nicer for build methods. ); } }- 기본 메인 화면을 TODO앱 기본 화면으로 수정
- AppBar: 숨김
- PreferredSize 사용
- Body: 내용 전부 삭제
- bottomNavigationBar 추가
- bottomNavigationBarItem 3개 추가
- 아이콘 + 오늘
- 아이콘 + 기록
- 아이콘 + 더보기
- bottomNavigationBarItem 3개 추가
- 필요 없는 주석 삭제
- AppBar: 숨김
import 'package:flutter/material.dart';

void main() {
  runApp(MyApp());
}

class MyApp extends StatelessWidget {
  // const MyApp({super.key});

  @override
  Widget build(BuildContext context) {
    return MaterialApp(
      title: 'TODO',
      theme: ThemeData(
        primarySwatch: Colors.blue,
      ),
      home: const MyHomePage(title: 'Flutter Demo Home Page'),
    );
  }
}

class MyHomePage extends StatefulWidget {
  // const MyHomePage({super.key, required this.title});
  const MyHomePage({Key key, this.title}) : super(key: key);

  final String title;

  @override
  State<MyHomePage> createState() => _MyHomePageState();
}

class _MyHomePageState extends State<MyHomePage> {
  int _counter = 0;

  void _incrementCounter() {
    setState(() {
      _counter++;
    });
  }

  @override
  Widget build(BuildContext context) {
    return Scaffold(
      appBar: PreferredSize(child:AppBar(),
        preferredSize: Size.fromHeight(0),
      ),
      body: Column(
        children: [

        ],
      ),
      bottomNavigationBar: BottomNavigationBar(
        items: [
          BottomNavigationBarItem(
              icon: Icon(Icons.today_outlined),
              label: "오늘"
          ),
          BottomNavigationBarItem(
              icon: Icon(Icons.assignment_outlined),
              label: "기록"
          ),
          BottomNavigationBarItem(
              icon: Icon(Icons.more_horiz),
              label: "더보기"
          ),
        ],
      ),
    );
  }
}
정리
- 공간을 정의하고 아이콘과 라벨을 붙이는 과정이 너무 편하다.
- 버전 차이로 인한 문제가 이어질 것 같아 걱정이 된다.
- 오늘은 다행히 하나씩 찾아가니 금방 해결이 됐지만...
- Android Studio에는 Reformat Code with 'dart format' 기능이 있다.
- 강의에서 작성하는 코드 스타일과 조금씩 다르니 이것도 확인해보자.
- 예시 (강의 vs. dart format)
@override
  Widget build(BuildContext context) {
    return Scaffold(
      appBar: PreferredSize(child:AppBar(),
        preferredSize: Size.fromHeight(0),
      ),
      body: Column(
        children: [

        ],
      ),
      bottomNavigationBar: BottomNavigationBar(
        items: [
          BottomNavigationBarItem(
              icon: Icon(Icons.today_outlined),
              label: "오늘"
          ),
          BottomNavigationBarItem(
              icon: Icon(Icons.assignment_outlined),
              label: "기록"
          ),
          BottomNavigationBarItem(
              icon: Icon(Icons.more_horiz),
              label: "더보기"
          ),
        ],
      ),
    );
  }
@override Widget build(BuildContext context) { return Scaffold( appBar: PreferredSize( child: AppBar(), preferredSize: Size.fromHeight(0), ), body: Column( children: [], ), bottomNavigationBar: BottomNavigationBar( items: [ BottomNavigationBarItem( icon: Icon(Icons.today_outlined), label: "오늘"), BottomNavigationBarItem( icon: Icon(Icons.assignment_outlined), label: "기록"), BottomNavigationBarItem(icon: Icon(Icons.more_horiz), label: "더보기"), ], ), ); }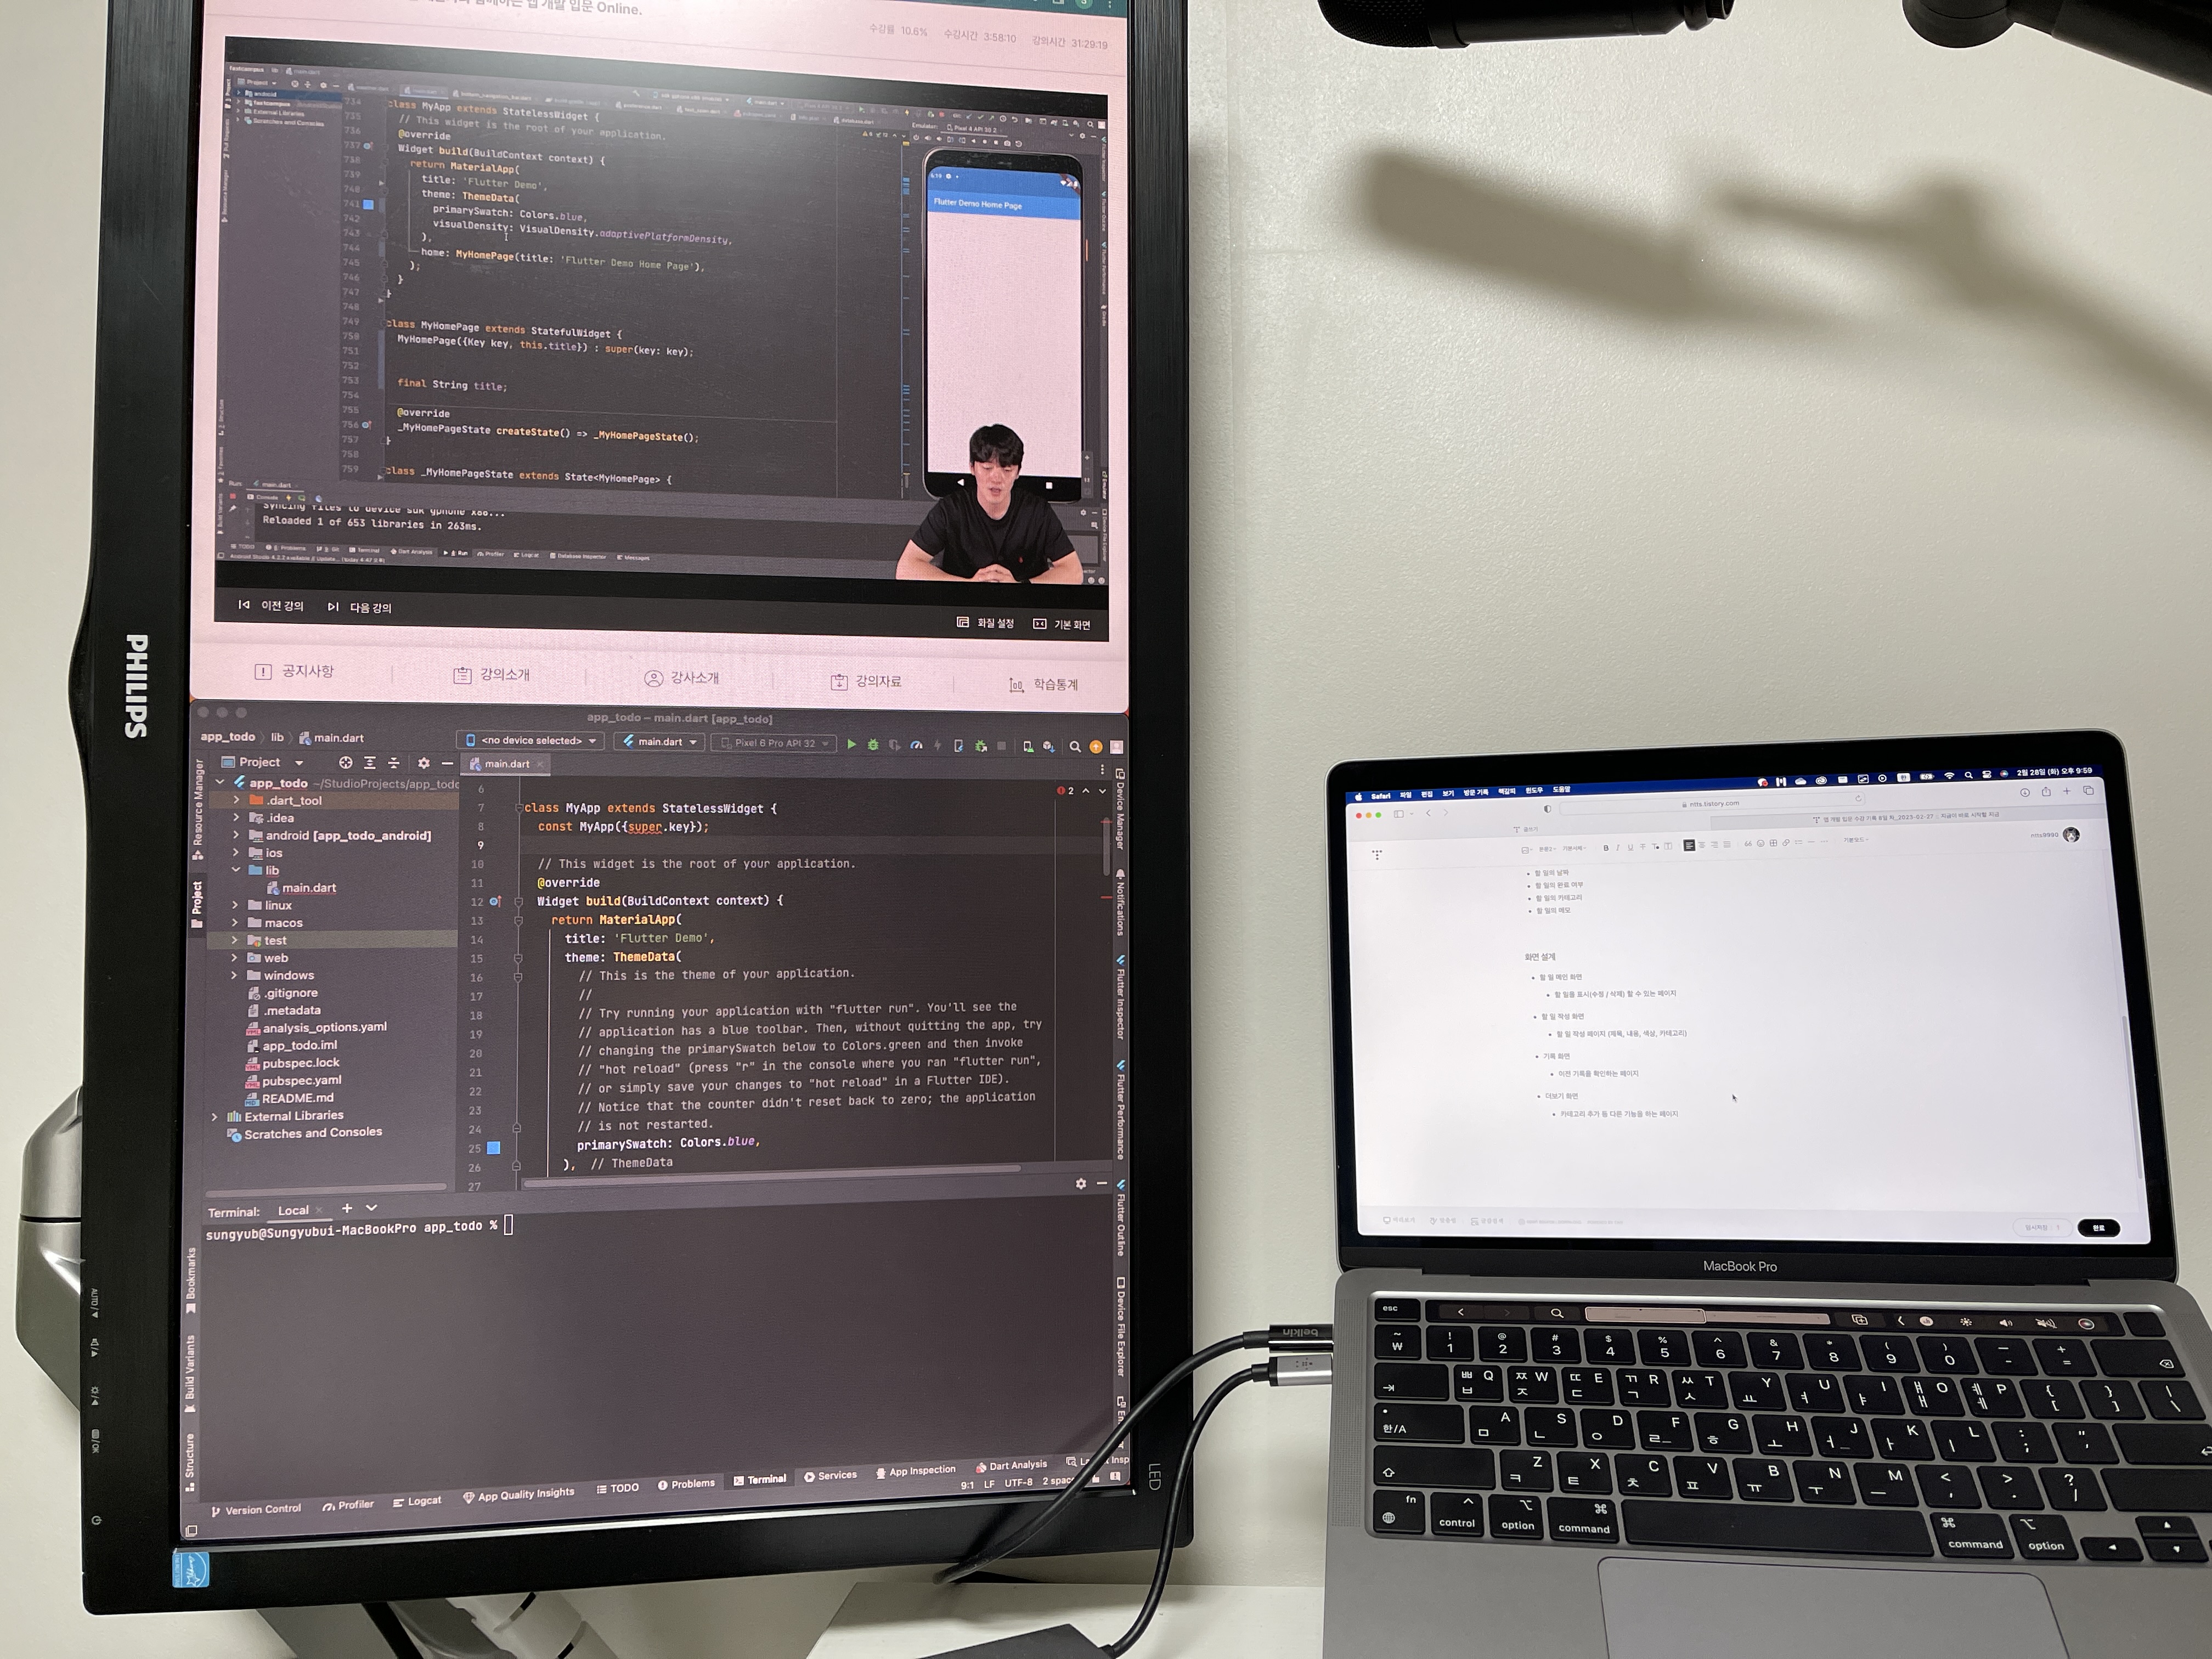
#패스트캠퍼스 #패캠챌린지 #수강료0원챌린지
#직장인인강 #직장인자기계발 #패캠인강후기 #패스트캠퍼스후기
#환급챌린지 #오공완 #누적다운로드120만1인개발자와함께하는앱개발입문Online
http://bit.ly/3Y34pE0본 포스팅은 패스트캠퍼스 환급 챌린지 참여를 위해 작성되었습니다.
'Study' 카테고리의 다른 글
앱 개발 입문 수강 기록 8일 차_2023-02-27 (0) 2023.02.27 앱 개발 입문 수강 기록 7일 차_2023-02-26 (0) 2023.02.26 앱 개발 입문 수강 기록 6일 차_2023-02-25 (0) 2023.02.25 앱 개발 입문 수강 기록 5일 차_2023-02-24 (0) 2023.02.24 앱 개발 입문 수강 기록 4일 차_2023-02-23 (0) 2023.02.23